Intermittent electrical issues or corroded battery terminals are the most visible bad battery symptoms. Knowing replacing battery terminals is very useful and essential for every driver to deal with a car’s starting problem.
This straightforward guidance walks you through 7 easy steps. Undoubtedly, with enough tools and following our guide, the new replacement battery terminal becomes so easy for you. Let’s get started.
How To Replace Battery Terminals
Step 1: Prepare Tools
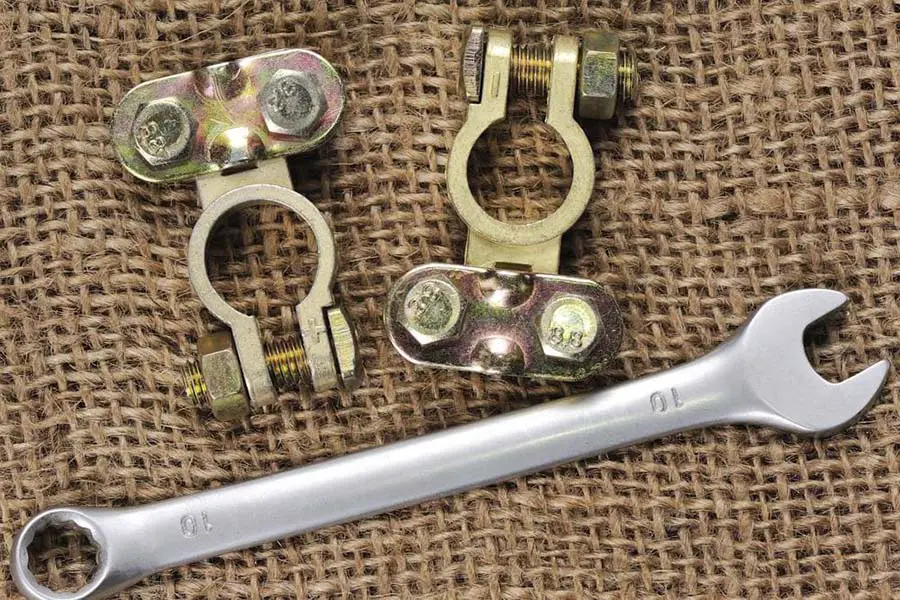
The right tools to perform easy DIY car repairs are of utmost importance to save time and money. Repairing a car seems very complicated. However, you can do many basic car repairs in your garage. You can fix it in a few minutes.
Essential tools to replace battery connectors are certainly familiar to you. They include in almost car repair kits: wrench set, hacksaw, pliers, socket, wire brush, rag, or towel.
Step 2: Remove Negative Battery Terminal
With enough tools on hand, we are ready to move to the step of removing the corroded terminals. Let’s start disconnecting the negative terminal.
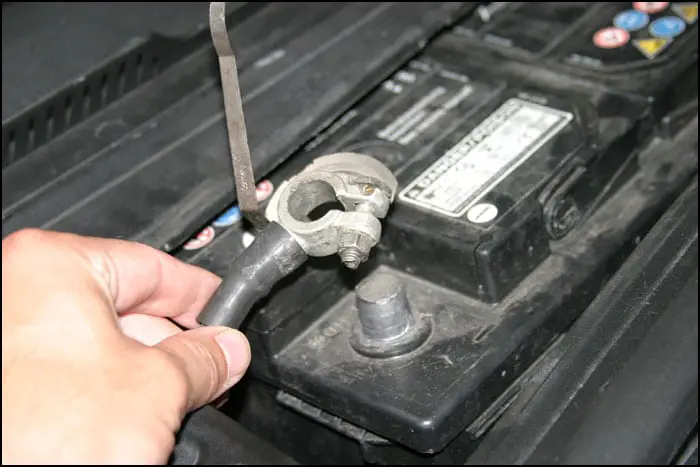
If beginning with using the wrench to loosen the compression nut of the positive terminal, you will create a direct short to the ground. At that time, the negative cable as the ground cable connects to any frame or metal body. As a result, it potentially causes electrical shorts or sparks.
This step involves three things: locate the terminals, loosen the nut, and lift the terminals off the battery posts.
Both terminals stay on top of the battery. The sign (+) or the red cable indicates the positive charge, while the symbol (-) or black wire is used for the negative terminal.
Next, we utilize the socket wrench to loosen the nut on the terminal’s side. Rotate the nut counterclockwise to loosen it. Afterward, you use the clean rag to lift the terminal off the battery post.
Step 3: Cut Off The Old Terminals
After taking off the terminal, you cut it off with the wire stripper cutter. At this step, you have already disconnected the battery completely. Before you replace the battery terminal clamp, be sure that you clean up any corrosion with a water solution like a mixture of baking soda and a cup of water or battery cleaner.
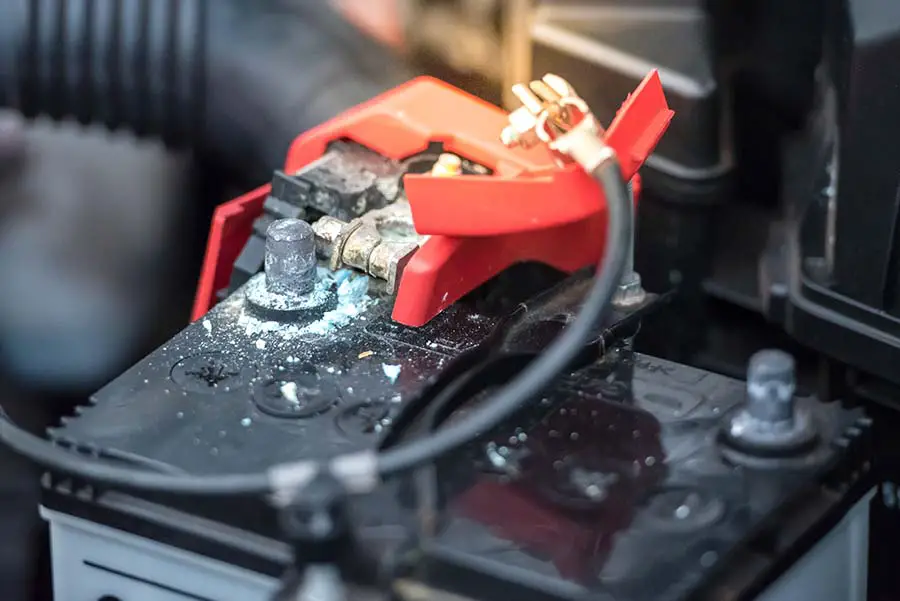
Corrosion built up around the post is the main culprit of disrupting the electricity to start the car or power other electrical components like stereo. Replacing battery connectors can not solve the issue of corrosion on battery terminals without scrubbing off corrosion.
Step 4: Cut Off About 1/2 Inch Of insulation From Each Cable
You cut off 1/2 inch of insulation from the corroded battery cables with a wire stripping tool or a razor knife. Then, let’s observe the connector ends of the lines and use a battery brush to scrape off any visible corrosion on the rope.
Step 5: Put The Wires Inside The Cavity And Bolt It On Tight
Moving this step, you insert cables into the new battery’s clamping portion. Continue utilizing the wrench to tighten the clamp bolts. Ensure no exposed wires are visible to avoid any power or drained battery.
Step 6: Attach The New Negative Battery Terminal & Repeat The Above Steps With Positive Battery Terminal
Now, you will place the battery terminal back on the post, then repeat steps 4 and 5 with the positive battery terminal. Finally, reconnect and screw on the battery terminal. Remember to connect with the positive cable first, then ends up with the negative terminal.
See more: Which Battery Terminal To Connect & Disconnect First?
Step 7: Test The Battery
Starting the car is the easiest way to check if the new battery cable terminal works properly or not. If the vehicle fails to turn on, there is a high chance that you do not install the cables properly. In this circumstance, let’s loosen the clamp and insert all lines into the clamp again.
Final Thoughts
We hope you feel more confident in performing this basic task through the post on replacing the battery terminals. Knowing the order of disconnecting and reconnecting the battery cable terminals and having enough tools, we believe this task is the easiest you can do to keep your car running smoothly.




0 Comments