
Knowing deep-cycle marine battery charging is the first and foremost step before operating camper vehicles, RVs, and boats. It is also essential to care to increase life expectancy. Due to such important facts, this informative post gives you a complete understanding of the charging and usage of a cycle marine battery. Let’s get started.
A Step-By-Step Guidance Of How To Charge A Deep Cycle Marine Battery
This comprehensive post walks you through the main seven steps. We give you an easy-to-understand approach to charging a deep-cycle marine battery. With a little knowledge of smart chargers and the correct type of battery and following the guidance carefully, the charging task becomes the easiest. Let’s get started!
Step 1: Preparation
The most important device we need to proceed with marine battery charging is a smart deep cycle battery charger. As its name suggests, it is currently a decent choice for heavy vehicles such as RVs, camper vehicles, and boats. The built-in battery diagnostic system allows the smart charger to serve as the maintenance device for your battery.
It monitors the entire charging progress and comes in handy to prevent overheating, overcharging, and reverse polarity. Such remarkable features of the fully automated system won’t take you extra time to examine the charging process. Indeed, these amazing conveniences also make deep cycle marine batteries the best choice.
The second thing you will prepare is a clean rug to scrub off corrosion. At the same time, it is necessary to equip yourself with rubber gloves to protect you from the danger of electric shocks.
Step 2: Disconnect The Deep Cycle Marine Battery
Now, we are moving to the step of disconnecting the marine battery. Make sure you shut down any devices powered by the battery and disconnect the negative terminal first. Let’s use the socket wrench or a set of pliers to loosen the nut, then lift the terminal off the battery post. Afterward, push both terminals of the battery.
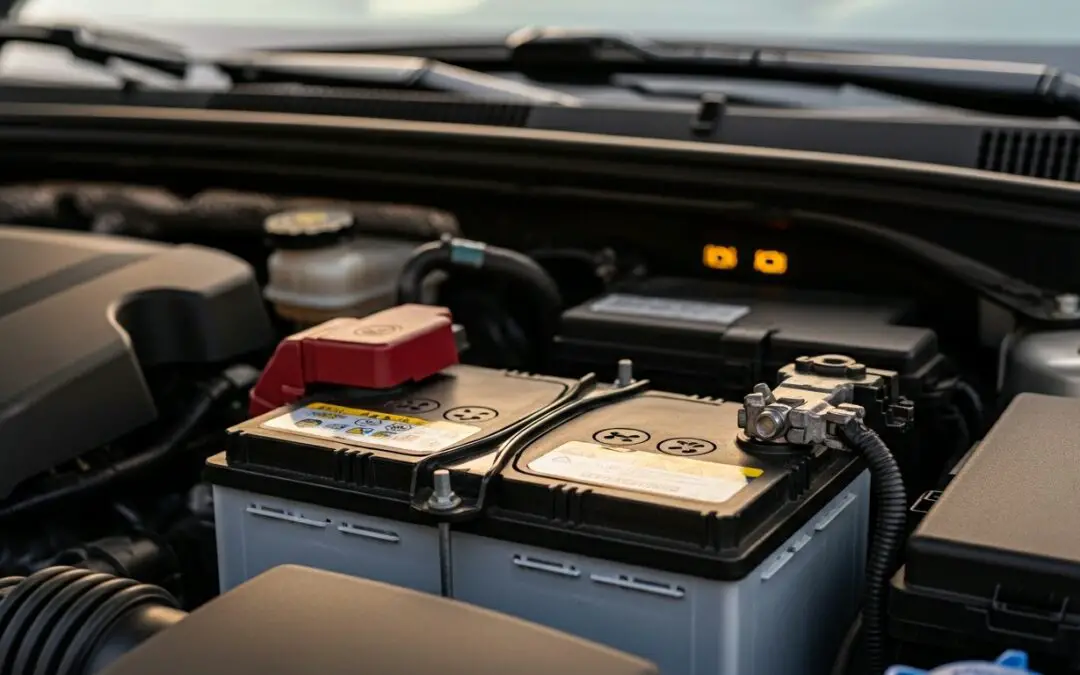
Step 3: Inspect And Clean Battery
At this step, we refocus our efforts on cleaning the corrosion, fluids, or dirt off the car battery. We observe any corrosive white powdery substance visible from terminals, cables, or metal parts near the battery.
Next, we neutralize acid corrosion by applying the cleaning agent or a mixture of baking soda and hot water to the rust. After a few minutes, scrub around terminals and wire connections. We finish this step by wiping off the excess solution with a rag, then leaving the battery completely dry.
While getting rid of corrosion, wear a gas mask, apron, and a pair of gloves to protect your eyes and skin.
Step 4: Connect The Smarter Charger To Battery
In the charging phase, the battery exhausts the hydrogen gas, which afterward disperses into the surrounding environment. In the worst situation, flammable gasses, air, and ignition sources cause an explosion. Due to that, it is crucial to charge a deep-cycle marine battery in a well-ventilated area.
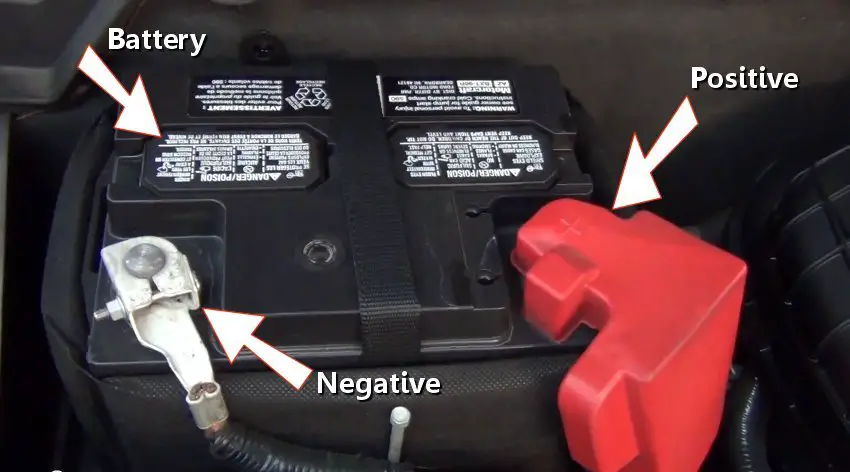
If everything is ready, carefully place the red clamp of the battery charger on the positive terminal and hook up the black clamp to the negative terminal. It is advisable to wear rubber gloves once you connect the smarter charger to the battery.
Step 5: Check The Charger’s Settings
This fifth step guide is to check the charger’s setting. We advise you to refer to and follow the specification sheet for the battery and charger.
The smart charger can automatically measure the current charge of the deep cycle marine battery and alter the timer for a full charge. With the AGM, gel, or flooded type battery, you are going to change several settings during one charging session.
Firstly, you will check its current discharge value and set the voltage for the charger. The rule of thumb is 10% of the battery’s amp-hour rating as the minimum and 20% of the Ah rate as the maximum. For instance, you will set 10 amps for a 100Amp-Hour battery.
Then, you will alter the charging time, which accordingly depends on the value of the current discharge and the charger’s amperage specification.
Today, you will see the multi-stage chargers, typically equipped with a charge controller for at least three stages: bulk charging, absorption charging, and float mode.
The initial stage of bulk charging utilizes the highest voltage to refill 80% to 90% of the charge without overheating the battery. With the AGM battery, the voltage at this stage can reach 14.6-14.8 volts.
Under the absorption charge, the battery runs an 80% state of charge and starts reducing the input current to the battery. The left 20% battery takes longer than the first 20% of the bulk stage.
The last stage of float mode is often referred to as a maintenance or trickle charge. The float mode already reaches the full charge and uses the lower voltage like 12.8 to 13.2. This stage prevents discharging from an already charged battery.
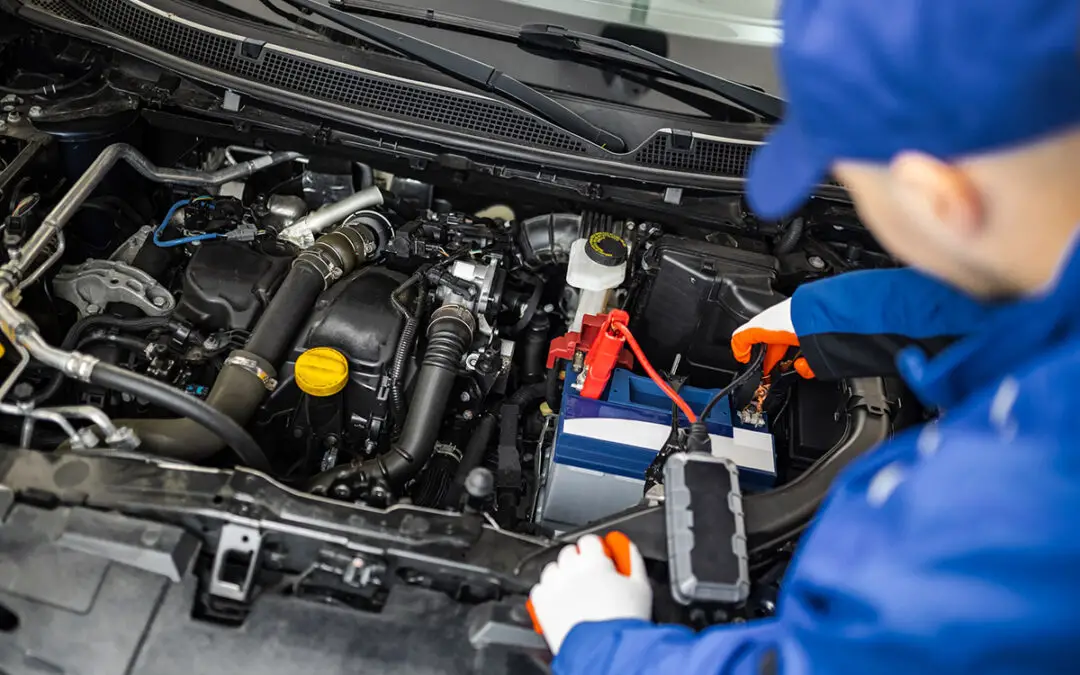
Step 6: Plug In The Charger & Switch On
Everything is getting easier with this step. Plug in the smart charger and switch it on. Don’t touch the battery during this stage, as it can cause shocks to you. Instead, let’s check the indicator light to track its progress.
Step 7: Disconnect Charger
The charger has an indicator light to notify you once it completes the charging session. At that time, turn off the battery and disconnect the cables from the negative terminal followed by the positive one.
Tips To Prolong The Deep Cycle Marine Battery
Select The Right Battery & Battery Charger
The most important care to maximize its lifespan and performance is selecting the right size and type for the boat’s battery. More specifically, battery size is three times larger than daily electrical consumption. Besides, a smart multiple-stage charger with the correct battery type is ideal for increasing life expectancy.
Don’t Flatten The Battery
A flat battery or 100% discharge dramatically results in 3 – 10 times fewer cycles than recharging at 40% – 50% capacity left in the battery. If you accidentally flatten the battery, let’s recharge it as soon as possible to avoid sulphation.
In case of no use, always keep the voltage above 12.5 volts.
Check The Voltage Of The Batteries
Checking the voltage of batteries frequently is excellent care for the battery life. Nowadays, the advent of applications for monitoring batteries increases the conveniences in maintaining a safe voltage level. It allows users to access live data and analyze historical data through the Wifi connectivity.
A Proper Storage
Under extreme temperatures such as very cold or hot temperatures, it is crucial to store it in an insulated battery box or store it where it can be connected to the maintenance charger.
Before the off-season, let’s charge the battery completely and disconnect it from the terminals. Then, keep them on a battery maintainer throughout the off-season for continuous maintenance of your batteries.
Other Care
Lastly, pay attention to corrosion, dust, and grime around cables and terminals and perform regular cleaning. Furthermore, let’s maintain proper water levels in flooded lead-acid batteries. Charging full cycle and avoiding fast settings are small yet efficient techniques for an optimal lifespan.
FAQs
- Can You Use A Battery Right After Charging?
Using the battery right after charging poses a risk of burning out due to overheating during the charging process. Instead, let’s leave it cool before reconnecting it to any devices.
- Do Deep-Cycle Batteries Discharge When Not In Use?
Once not in use, the chemical reaction still occurs between substances in the battery. Furthermore, other noticeable factors of the outside temperature and battery state significantly result in self-discharge.
Final Thought
We hope this post on deep-cycle marine battery charging will give you a great insight into the proper usage with this type of battery. Understanding its operating principle makes your mind worry-free of flattening batteries. It is also a crucial start to prolong the lifespan of such an expensive type of battery.


0 Comments