
The battery concept is so familiar that writing about it seems laughable. These devices are everywhere, from household appliances and equipment to cars and trucks.
Still, little is known about the process of making one. What is inside a battery? How do manufacturers create them?
Our guide aims to deliver more insights on such issues. Keep scrolling!
How Are Batteries Made?
There are 3 key parts of a battery: a cathode, an anode, and an electrolyte.
1. Standard Lead-Acid Batteries:
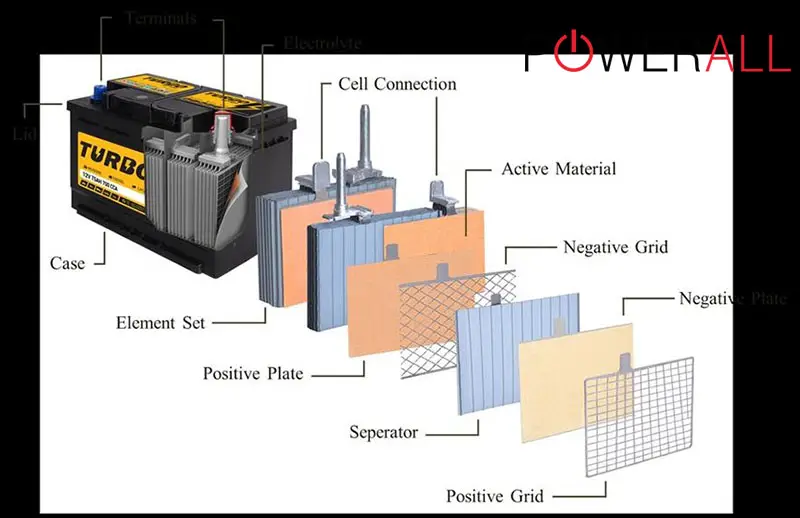
As the name suggests, the inside of this battery is mainly lead.
Step 1. The manufacturing process starts with battery grid manufacturing, in which the grids are stamped off continuous lead stips. These grids’ main purpose is to conduct electrical currents, providing a base structure adherence for active materials.
Step 2. Make a mixture of water, sulfuric acid, and lead oxide. Apply this paste mixture to all grid sides. Adding some expander material (ex: powdered sulfates) is recommended to create negative plates.
Step 3. After that, the brand will cure those pasted plates – a procedure occurring in a humidity-controlled and warm environment for several days (usually 2 to 4). During this period, crystallization will develop, binding the grids and paste together.
Step 4. Double-check whether the plates have been ready. Stack them in alternating patterns (negative, positive, negative, etc.) and put separators between them. These separators are meant to separate individual plates and sidestep short circuits – while still allowing electric current flows.
As all negative plates become connected (the same as positive plates), they create a 2-volt, single battery cell.
Step 5. Orient the cells and insert them into a battery case. Required voltage levels will decide how many cells are needed. For illustration, a 12V battery requires six 2V cells welded and dropped together in the case.
Step 6. Now that every cell is welded together, the brand proceeds to heat-seal the cover top (containing connected elements) to the battery top and terminal posts (formed outside to create acid tight seals).
Step 7. Give the battery some initial sulfuric acid (electrolyte) fill and formation charges. In this step, the batteries are connected to electrical sources and charged for about 24 to 32 hours (the specific number depends on battery sizes and types).
Step 8. After their complete formation, the manufacturers drain their batteries of electrolyte to fill them with higher-power strength acid. That signals the end of the sealing procedure, followed by labeling, cleaning, quality check, etc. The products are now ready for sale!
2. Other Common Batteries:
The production steps are more or less similar, as many batteries are just a better, more upgraded version of standard lead acids. Nevertheless, key differences are still noted – detailed as follows:
a. AGM
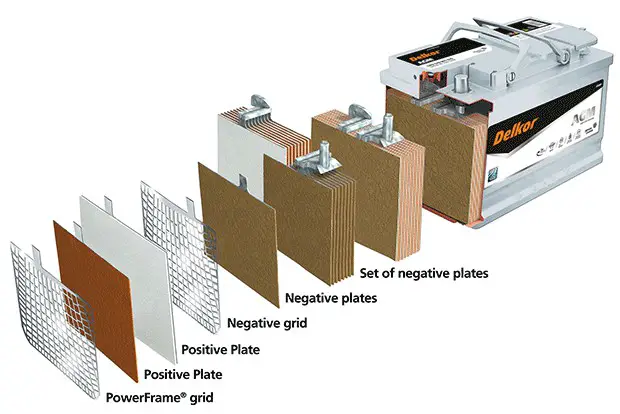
Lead-acid batteries often use lead plates dipped into electrolyte solutions. Meanwhile, AGM versions utilize fiberglass mats slotted between different lead plates.
That’s where this battery earns its AGM title – short for Absorbed Glass Mats.
These glass mats wick electrolyte, keeping it bound on the spot to avoid free-flowing.
b. Silver-Calcium
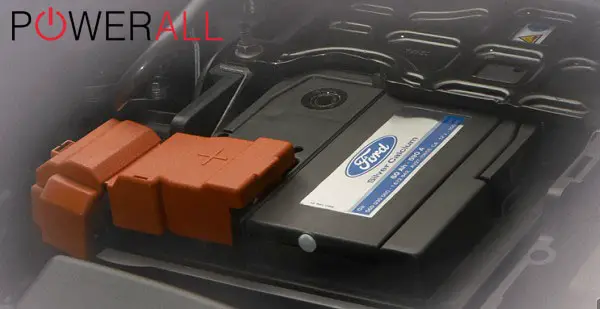
Silver-Calcium is quite comparable to lead-acid, except that its grids are composed of silver-calcium-lead alloys rather than standard lead-antimony ones.
The outcomes of such an improvement are manifested in better battery lifespan and higher starting power. These household batteries can stand strong against high temperatures and corrosion, making them a terrific choice for durability-valuing drivers.
c. Gel Batteries
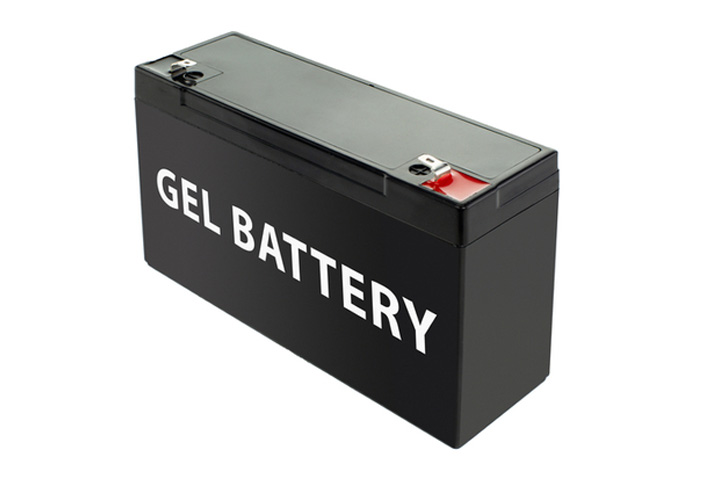
Gel batteries adopt gel-like connections to achieve better, more active charges – quite ideal for electronic devices and machines with high demands for power-to-weight ratio.
As gels are much more durable and provide better charge per load than other electrochemical reactions, it’s no surprise that gel batteries can last far longer than their lead-acid counterparts (or any primary batteries, for that matter).
Can You Make A Battery At Home?
Yes – though they can only work in smaller devices or function as a temporary fix for heavier machines and electrical vehicles. It would be best to purchase actual, manufacturer-approved batteries at retailers and wholesalers whenever you can!
Here are one of our favorite methods to produce homemade, soda-powered batteries:
Step 1. Prepare Your Raw Materials.
Ensure you have all of these materials and ingredients:
- Unopened soda can (1 can; any type is fine)
- Plastic cup (1 cup; 6-8 ounces)
- Copper strip (about 3/4 inches in width, longer than the cup’s height)
- Scissors
- Voltage meter
- Electrical lead wire (2 wires; both ends have alligator clips)
Step 2. Fill Soda In Your Plastic Cup (About 3/4 Full).
What if you don’t have plastic cups? Then using non-metallic is recommended. Even paper and styrofoam cups can work!
Step 3. Double-Check That Your Soda Can Has No Soda Left
Should any remaining soda stay inside the can, drink or discard it. You can turn the can upside down and shake it several times, ensuring all liquid is out.
Step 4. Cut Some Aluminum Strips Off The Can
Take the can, then cut a wide strip (about 3/4 inches). As mentioned, ensure that the strip is a bit longer than your cup’s height. Another great tip is to bend the strip top, leaving it to hang over.
Step 5 (Optional) Sand Your Aluminum Strip
Sand your strip with some coatings (ex: plastic, paint, etc.). If you buy aluminum from hardware stores instead of cutting it from the soda can, simply skip the entire step to jump to the next one.
Step 6. Place Your Strips Into The Cup
Do not let the strips contact each other. Also, put one strip across the other (no overlapping, no side-by-side).
Step 7. Attach Metal Strips to Lead Wires
Open the alligator clips and close them on your metal strip. Attach another wire to another strip using the same method.
Step 7. Test The Voltage and Energy Density
Connect each lead wire to your voltage meter. If the reading is about 3/4 V, your mission is a success!
Can Dead Batteries Be Revived? If Not, Where Do They Go?
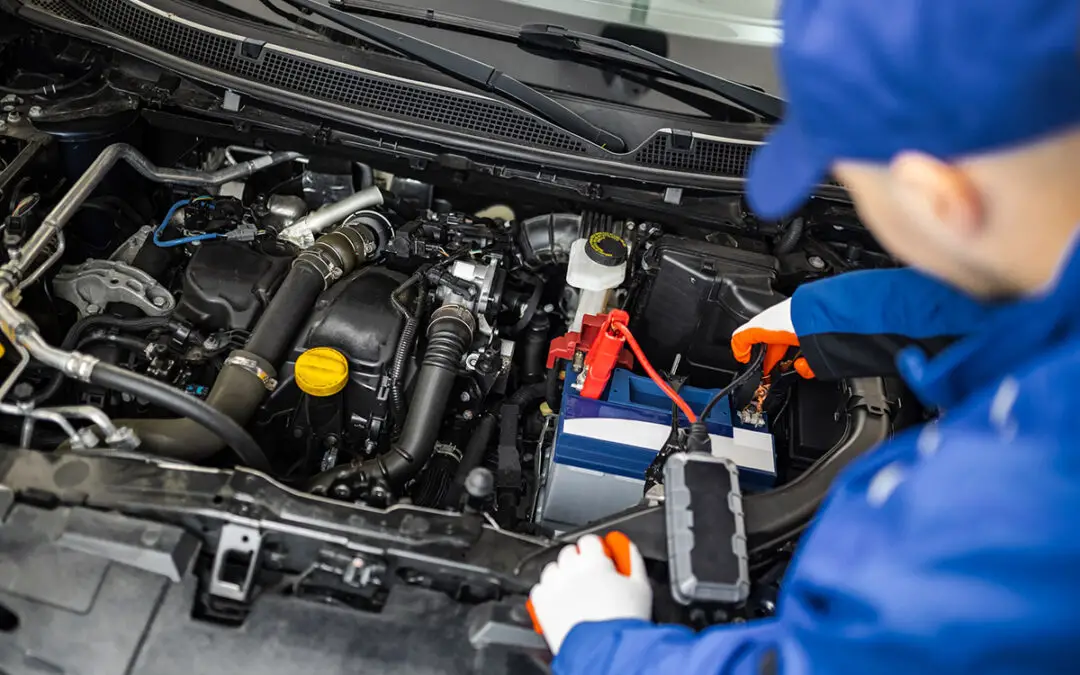
Yes. Any type of battery can still be sprung to life if there’s still some power left in them. Three common revival methods are:
- Hand-cranking
- Using Epsom or lithium salt solution
- Driving the alternator with a chainsaw
When all fix tips fail, drivers will buy replacements and get rid of their old ones. Sadly, according to the BBC, only 5% of Li-ion rechargeable batteries enter recycling cycles, though almost 90% of lead-acid batteries can be recycled (as per Illinois Library). The rest is lost in trash dumps.
To dispose of them safely, search your areas to see whether any company or brand offers drop-off places for all types of batteries and electronic waste. Call2Recycle is a good example, which introduces recycling policies for mobile phones and high-capacity batteries across the United States.
Conclusion
We hope our inclusive guides have resolved any lingering concerns or confusion you still have about battery production and disposal.
Be mindful of your environment by submitting old, dead batteries to recycling programs, and try some simple methods introduced above to revive them if there’s still hope!


0 Comments